Karen Varcoe, Gresham OR kvarcoe@aol.com 503 267 6080

Sunday, March 11, 2012

March Stamp of the Month Card

Here's a little tutorial on the card I came up with to use with the March Stamp of the Month, Potential, and Florentine Papers.  My thanks to CTMH Consultant Susie Rostad, whose card inspired this card.

Take a 6"x12" piece of card stock - I used Colonial White.   Score it at 4 1/4" and 8 5/8".
 Then, using some kind of circle cutter or anything round as a template, round off the short end of the card.
 Here's the gorgeous Florentine paper I'm going to use:  It's 5 1/2" x 3 1/2"
 Put it under the rounded end of your card base and trace.   Ouch, you can see my sore thumb and finger.   I got that from attacking Cousin It with a pair of scissors.  Cousin It is that overgrown Japanese Maple outside our front door, the one with the lousy haircut.   (I couldn't find the trimmers!)   Any of my customers who mention Cousin It to me will get a special prize.   See, there are rewards for reading my blog!  I put my pencil lines on the back of the paper I want to use.
 Trim and attach.
 Now take a 4 1/4 x 5 1/2 piece of twilight card stock and start random stamping.   I always start with the largest of my stamps that I'll be using.   Don't forget to go off the edges with your stamping to make it look more natural.   Rotate the stamps for variety.
 Now I've added the two smaller stamps.   These are all from Potential.   I used some 2nd generation stamping also.   It's bothering me - looks a little plain.   
 So, I'm adding a stamped image in cocoa.   This stamp is from the Florentine Workshop on the Go Stamp Set.  You will notice the cocoa images are rather light.   I think that stamp pad is my original from 5 years ago - you can imagine how much use it has gotten through the years in all my classes; it's getting a little tired.  But, the look is perfect for the effect I wanted:  I love it!
 Now for some of our very cool chocolate striped ribbon:
 It's getting beautiful!
 There's that same cocoa image from Florentine on the right.   The Happy Birthday stamp is from the new stamp set:  4 My Friend.  
 Now I've added a medalion type image, cut from my Cricut Art Philosophy cartridge (both the circle and the scallop behind it are AP images).  The scallop is from Brown Bag card stock. The stamp is also from Potential.   You can get Potential only during the month of March for $17.95 OR get it for $5 with a $50 order.

I inked all papers with Brown Bag ink and Twilight ink.  Brown Bag and Twilight look really nice together.  I also added a bitty antique copper brad to the center of the medalion
 Here are the three inks and the three stamp sets I used. 

 Hope you enjoyed this tutorial - come and make this card at March Cards with Karen this week!

Saturday, March 3, 2012

Guy Cards with Victory Papers

Here are the pictures from the Guy Card Workshop last week.   We had fun creating these masculine cards.  

First, the card box:   they are so fun to put together.   This one has a pewter badge button on the front, 4 Durable Pewter Studs on the top, and 2 photo corners from the Pewter Mini Medley on the front.   I also cut out the words GUY CARDS for the top.  The box and the papers are distressed with desert sand ink.

 Two of my favorite embellishments from the Spring/Summer Idea Book were used on our Guy Cards:  Tough Tags and Durables:
 We primarily used the Pure Adventure Stamp Set - I love this stamp set!
 Here's Card #1 Born Tough:   We used leathering (rubbing the stamp pad over a piece of card stock (in this case Olive on Olive) that is flat on a piece of scratch paper.   To get the hexagon-shaped papers, we went low-tech and traced around the Born Tough Tough Tag - simple.   The brads are antique copper.
 Card #2 Triumph:   Again, we did some leathering, and sponged edges, along with our stamping and embellishments.   Natural Hemp, shown here, was used on a few of our cards.
 Card #3:  Adventure is a State of Mind:   Stamped on an Art Philosophy Cricut Shape.   I love my AP cartridge!  We used the elk, duck and fish stamps too!  The plaid paper featured here is one of my favorite prints from this Idea Book.
 Card #4  Incredible:  pretty much lifted from the Idea Book - that's what that book's for!  We used the spray pen on the colonial white circle for a different look.
 Card #5 Limited Edition:   No stamping on this card - easy peasy!
 Here's a close-up of this Tough Tag:   I'll have to send this card to Scott - his birthday is June 23rd!  They were off by one year though!
 Card #6 Genuine Quality:   We used a zip strip (the star paper) off of one of the Victory papers - love those zip strips.   We used Just a Number Stamp Set - it has some great sentiments.
 Here's the inside:   Boy, isn't that the truth!
 Card #7:  This is the bottom right quarter of one of the papers - pretty neat - we just added copper brads.
 Card #8 You're a Star:   This card is taken from the Workshop on the Go Kit instructions.   There are some new card patterns, and this is one - instructions are on my website.  We made a slit on the folded edge of the card base so we could wrap the hemp around the front of the card.  A Dimensional Element Star and Durable complete this card.
 Card #9 Pure Adventure Elk Card:  We used stars again, along with some stamping for this card.
 Card #10 Unmatched Style:  Here we go with another zip strip, a bit of stamping and another Tough Tag - fun!

Tuesday, February 28, 2012

Create Three Cards from One Kraft Card Base

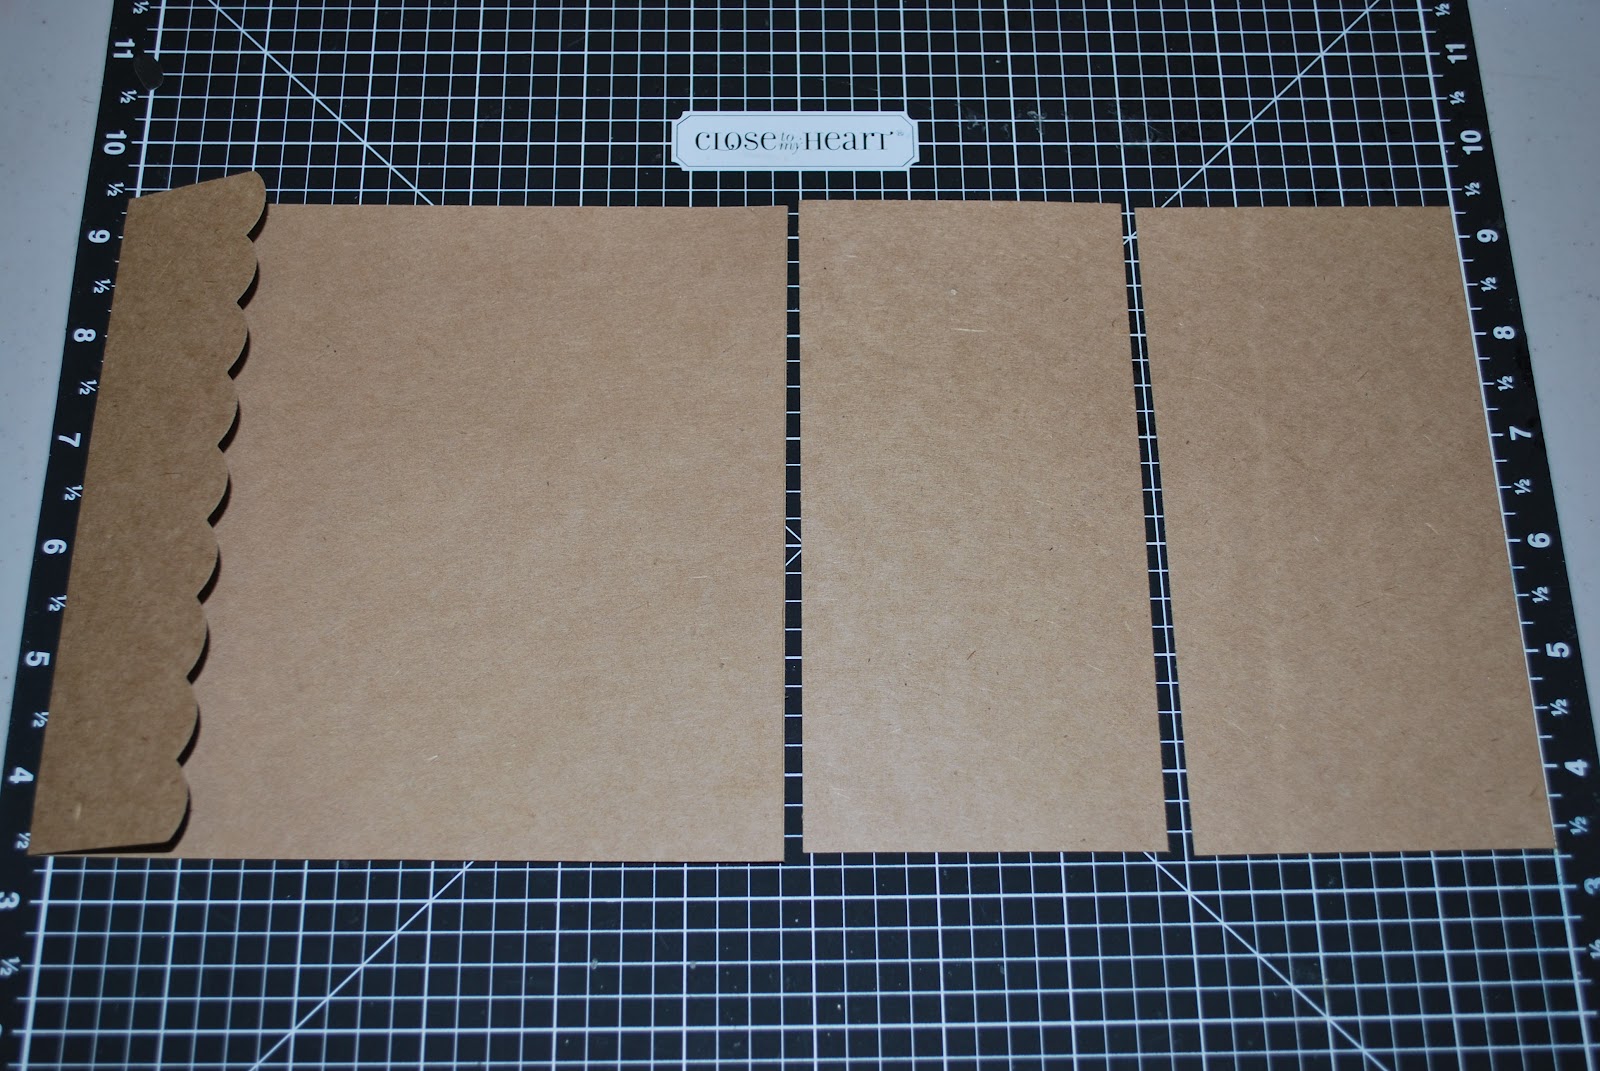
Here's a mini tutorial to show you how to create 3 cards from one of our super cute 6x6 Scalloped Edge Kraft Cards.  


First: Cut the 6x6 base on the score line:

Now you have a 6x6 Kraft card stock piece and a 6x6 with a scallop foldover card stock piece.

Now cut the 6x6 piece (right) into 2 3x6 pieces:

Score the 2 3x6 pieces into two cute little 3x3 card bases!  


Now score the 6x6 piece with scallop (left) at 3" creating a super cute 3x6 card with a scalloped foldover:  


And here you have it:  3 adorable card bases - voila!


I used our new Superhero papers to make these three cards.   This terrific airplane is from the Splendid Day stamp set (love this cheerful, summery set).  I also used our chipboard Dimensional Elements Stars, along with Red and Blue Sparkles.


 The sentiment, Let Freedom Ring, is from American Celebration.   I curved it when I put it on the block to line up with the cute banner that the plane is toting.   I used Cranberry and Moonstruck inks.

This card uses the American Celebration Stamp Set also, along with more red and blue sparkles.   I popped the Celebrate banner at the bottom with 3-D tape.
This card uses letters cut from the Art Philosophy Cricut Cartridge with Cranberry card stock, and more fun sparkles.   So simple, but so cute!   3x3 cards are adorable.   You will find 3x3 envelopes in the Idea Book, in white and kraft.


If you liked my little tutorial, post a comment - there may be a prize involved! 


Baked Potato Soup - Customers' Favorite!

6 large baking potatoes, baked
1 cup butter or margarine
1 cup flour
9 cups milk (I use skim, the original says whole)
3/4 tsp. salt
1/2 tsp pepper
3 cups grated cheddar cheese
18 slices bacon, cooked and crumbled
1/2 to 3/4 cup diced onions
12 ounces sour cream

Scoop pulp out of baked potatoes and set aside, throwing away skins.   In a large pan, melt butter on medium heat.   Whisk in flour until smooth, then slowly whisk in milk until it's smooth.   Stir continuously on medium heat until thick and bubbly.   Add the potato pulp, the cheddar, bacon and onion, plus the seasonings.  Stir until the cheese has melted and the soup is warm.   Add the sour creem and stir.  Transfer the soup to a crockpot.   This recipe fills a 6 quart crockpot.   Yum!

Thursday, January 19, 2012

Spring/Summer Idea Book Open House!

I'm looking forward to having you come over on Tuesday, 1/31 between 4:00-8:30.   You can enjoy a refreshment while looking at NEW product displays, pick up your very own copy of the CTMH Spring/Summer 2012 Idea Book AND make a card or two.   Each make and take is just $1!

What:     Open House
When:    Tuesday, 1/31 from 4:00-8:30
Where:   522 SW Lillyben, Gresham
Why:     To get your NEW Idea Book and look at scrumptious NEW products!

Sneak Peek!

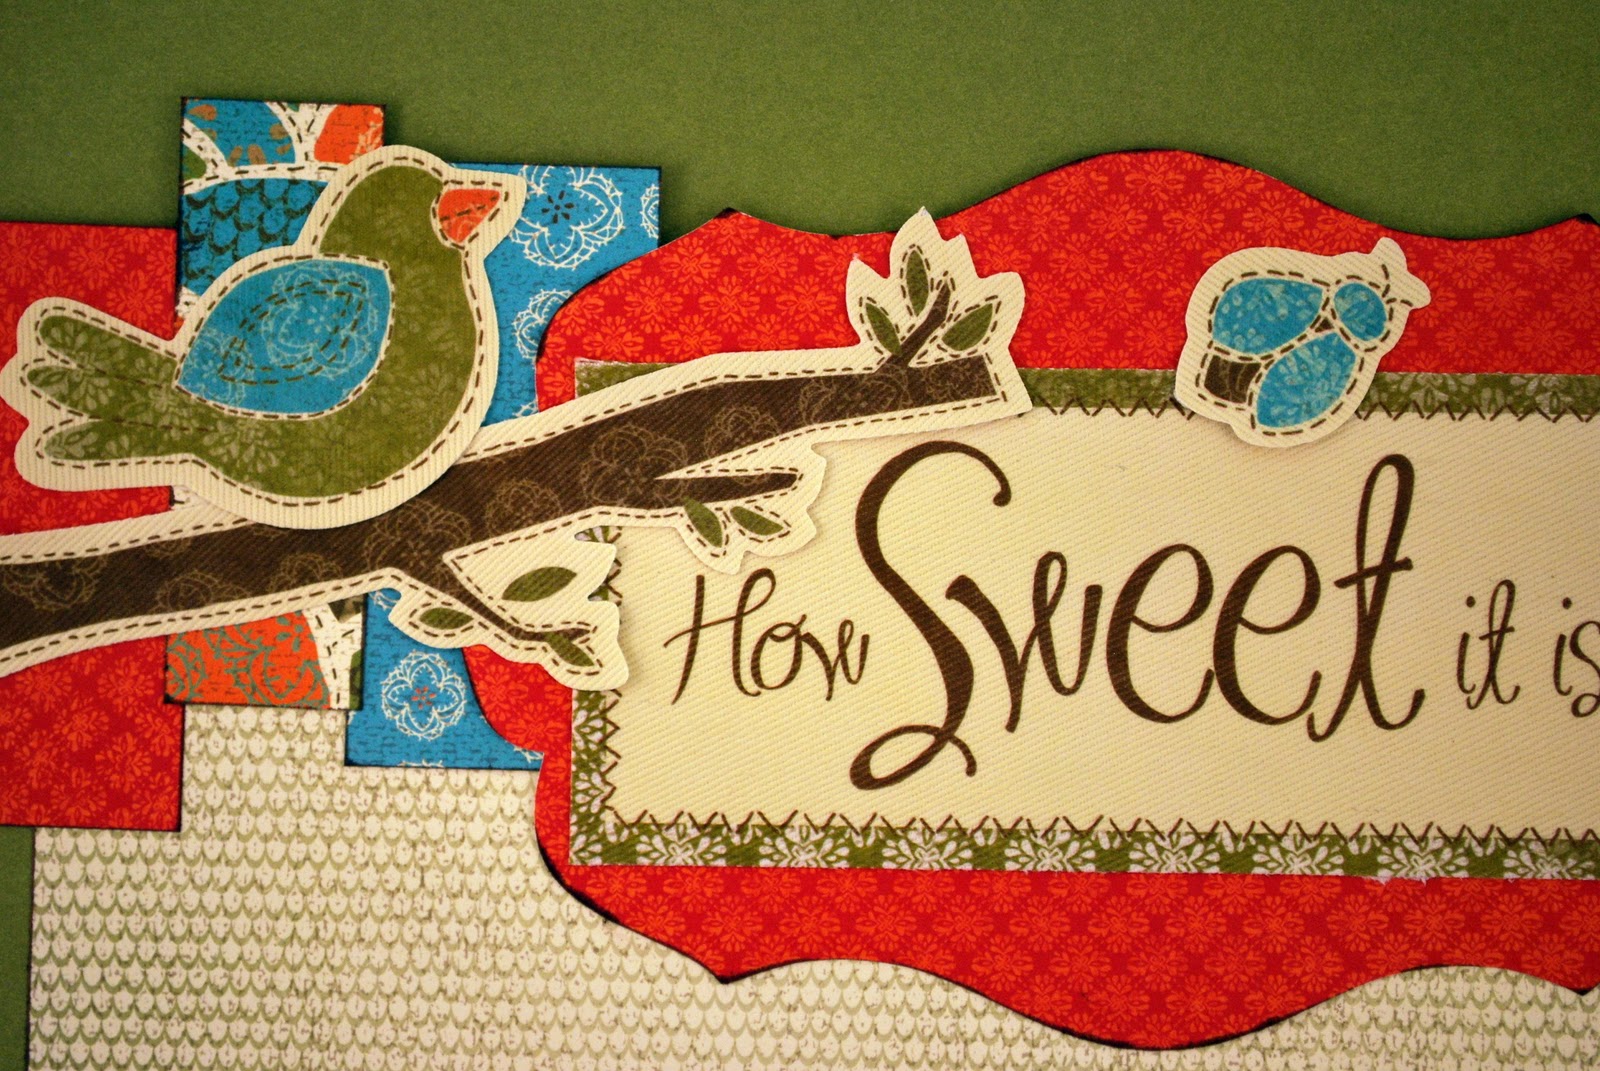
Here's a detail shot of one of the layouts I have created with our NEW Stella paper pack!   I love the colors in Stella:  Lagoon, Sunset, Cocoa, Olive, Tulip - sound gorgeous?   It is!  This picture is a little dark for some reason, so be sure to come to my Open House to see the real, live papers, pick up a NEW Idea Book, and complete a couple of make and take cards!

This shows the different papers of Stella, combined with some of the coordinating Stella Canvas Stickease.   How cute is that?

Wednesday, January 18, 2012

Delish Workshop

Dates:  1/26 3:00 - Gresham    1/30 5:00 - Gladstone    2/4  10:00 - Gresham

You can make 6 cards for $10 ($18 if you want to make two sets)
or the Collage Cube Tray project for $22
or the Ten Things I love about You Album in a Box for $15,
or make all three.  Your registration includes a Delish Dessert!


 These are the six birthday cards, many made with the cute NEW stamp set from the Spring/Summer 2012 CTMH Idea Book, It's Just a Number.

 This is the 10 Things I Love About You Album in a Box made with the Roxie papers.  This view shows the front/top of the box, and part of the accordian album that fits inside.  So cute!
Here's my oldest, Scott, modeling for one side of the six sided picture cubes I made with my Collage Cubes, also a new product from the upcoming Idea book.  

Contact me if you'd like to register for this Delish Workshop.

Monday, November 7, 2011

Holiday Cards

Here's the 10 cards we did for our Holiday Card Workshop.   We did 2 each of these ten cards using a variety of stamp sets, the Believe papers, an Olive Mini Medley, the Chocolate striped ribbon, Sweet Leaf ribbon, Cranberry Ribbon, White Ribbon, Red and Silver Glitz Gel, Colonial White Waxy Flax and the Holiday Pockets.   We used Cranberry, Holiday Red, Topiary, and Chocolate inks. These cards feature the CTMH Cricut Art Philosophy Cartridge - it's so fun to have stamps to match up with precut images - so much easier than all the cutting we used to do.


 The Magic of Christmas Never Ends is from D1492, Christmas Love Stamp Set.
 The felt Holiday Pockets come in green, red and blue, and are the perfect size to slide in a gift card!
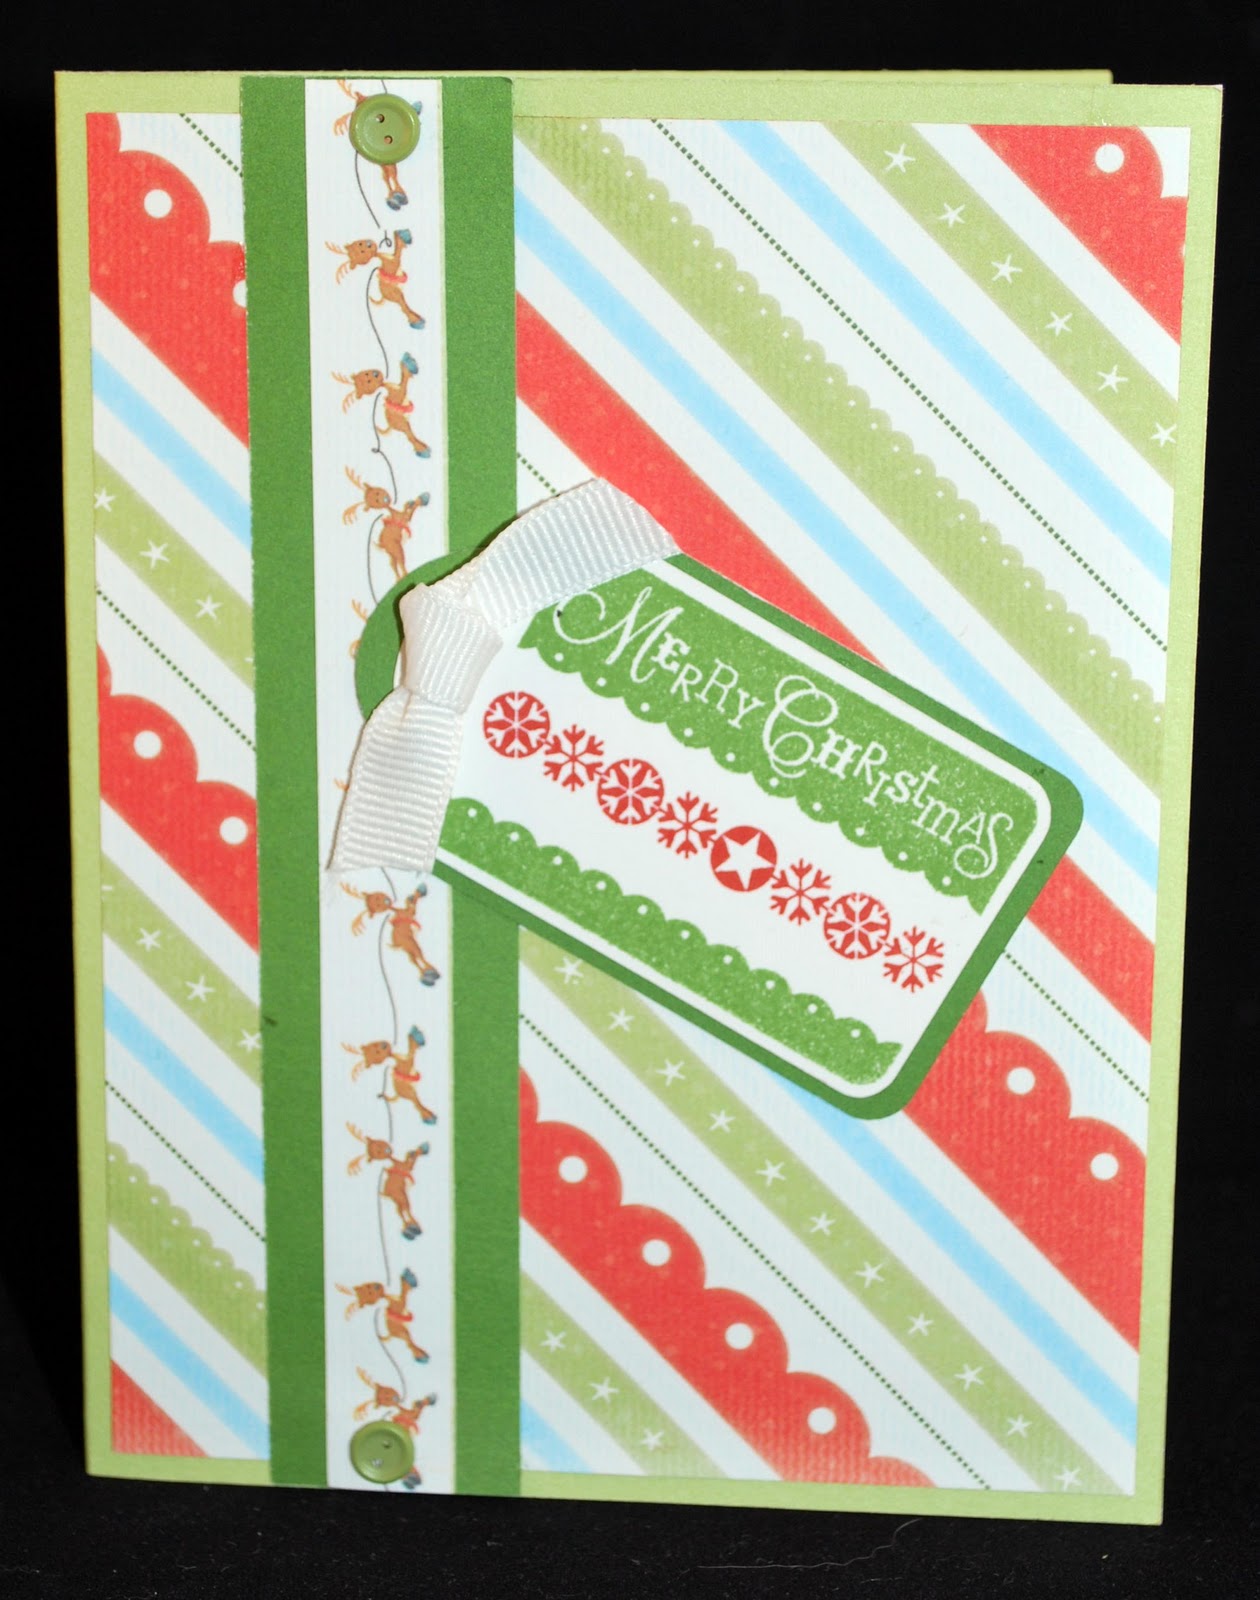
 On this card and two others, we used the cute little "zip strips" that come on the top of the printed papers now.   The back of the decorated zip strips have the paper pack name and all the colors used in it.  The sentiment is from Christmas Love Stamp Set, and the ornament is from Holiday Cheer.
 Here's my favorite - the sleight card.   I love blue and green together!
 This wreath card is made using the Remarkable Wreath stamp set.  It has the berries, flowers and leaves, making it a very seasonally versatile stamp set.  It also has several banners that stretch across the wreath:  4 You, Thanks, and Love, as well as the bow.
 This Merry Christmas card is from C1469, December 25th.
 The Santa was colored with Cranberry and Topiary inks with our blending pen.  The Santa is from the Believe Workshop Stamp Set.
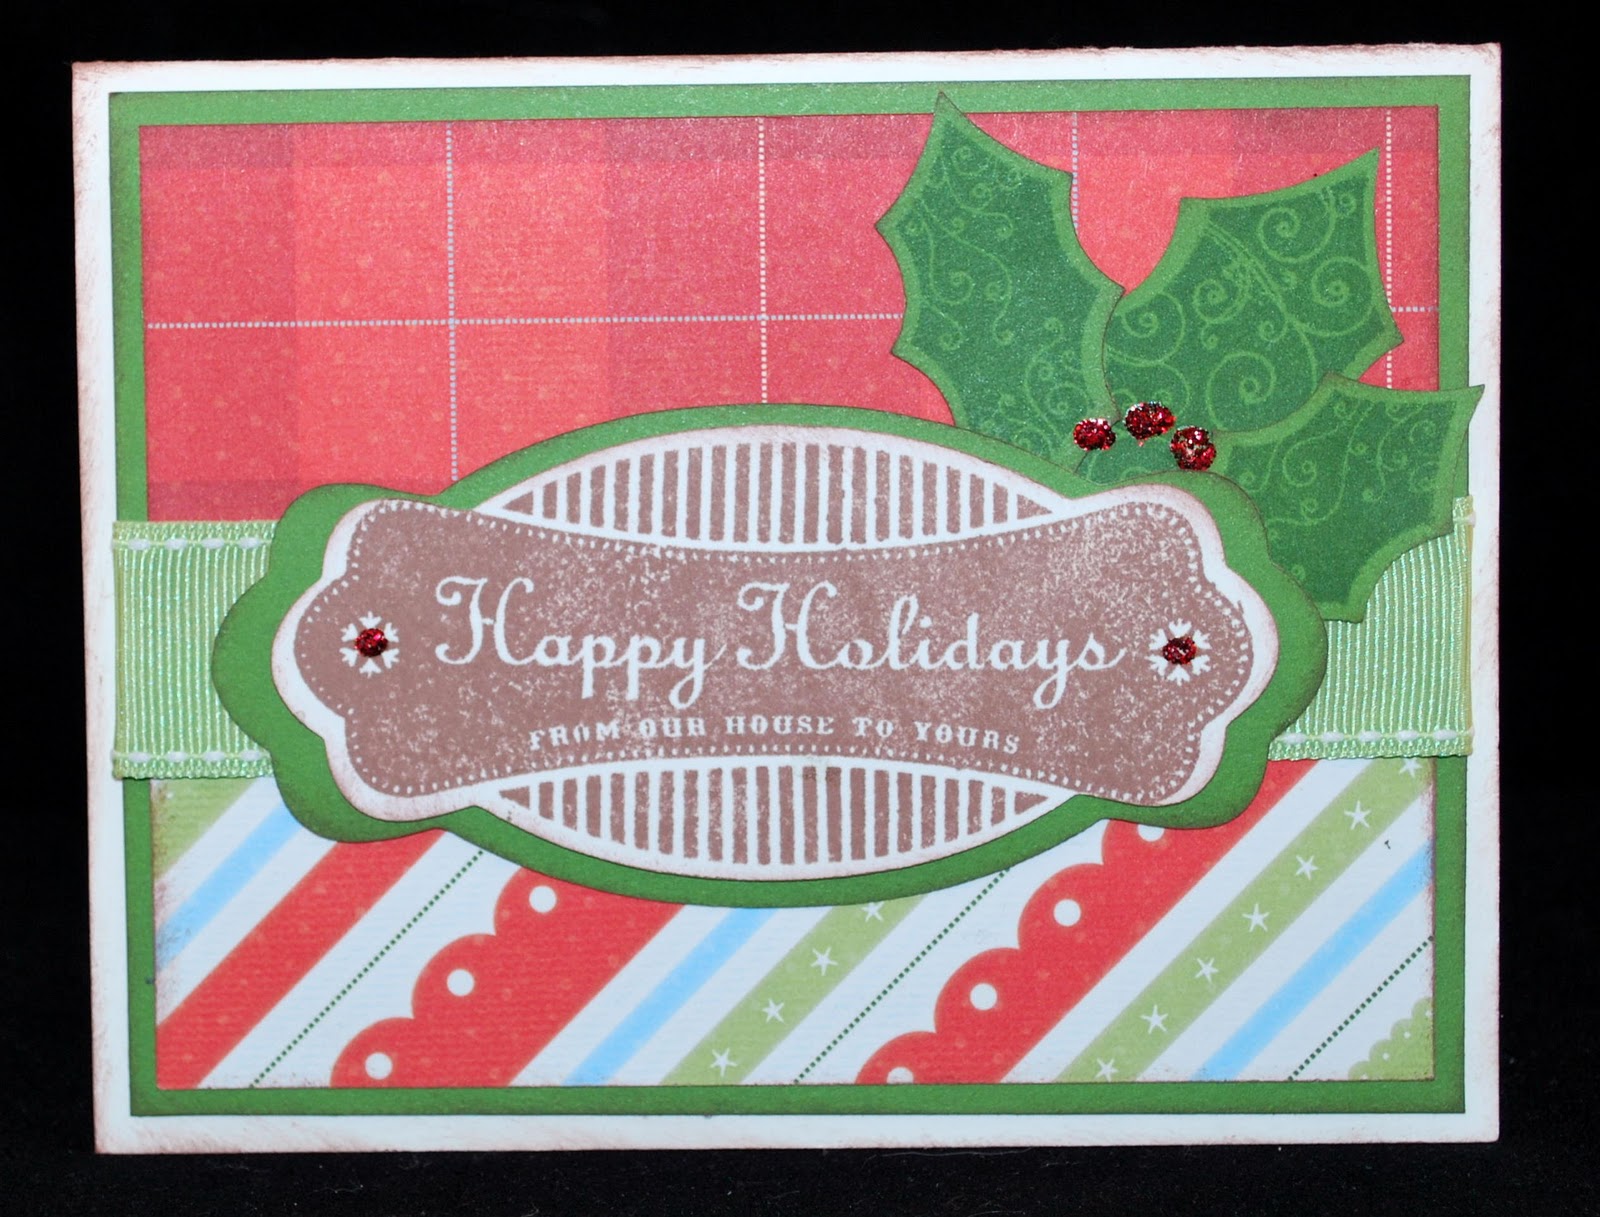
 This card was also made with C1469, December 25th.  The holly leaves are made with the A Holiday stamp set - just $6.95!   See how the Cricut Art Philosophy images line up with our stamps - gotta love it!
 On this card we used Holiday Cheer.  I love these tabs from the Olive Mini Medley!

Friday, October 14, 2011

20 Card Christmas Workshop


We're using the fun Believe papers this year for our Holiday Card Workshop.   You'll be making 2 each of 10 cards.   The $30 fee includes soup, bread and dessert, plus I'll cut all your papers for you!  

Thursday, November 3rd 5:00 - Gladstone
Saturday, November 5th 10:00 - Gresham
Monday, November 7th 4:30 - Gresham


Contact me to reserve your spot!

Monday, August 1, 2011

August Stamp of the Month - A New Program!

Our Stamp of the Month program at CTMH is changing - for the better! Now you can get the SOTM for $5 with a $50 purchase. Before, it cost $11.77 with a $50 purchase, so I think you will appreciate this change. The other very cool thing is that there will now be a project idea sheet included with the stamp set, with online directions, that will be posted for one year! Cute, cute ideas - check out the picture below:


Extra!  Extra!  Here's the other good news for August:   If your August order comes to $50, you will not only get the August SOTM for $5, but you will get a great new stamp set called A Typeface.  It's a little alphabet, not in the Idea Book, and it's yours FREE with a $50 order!